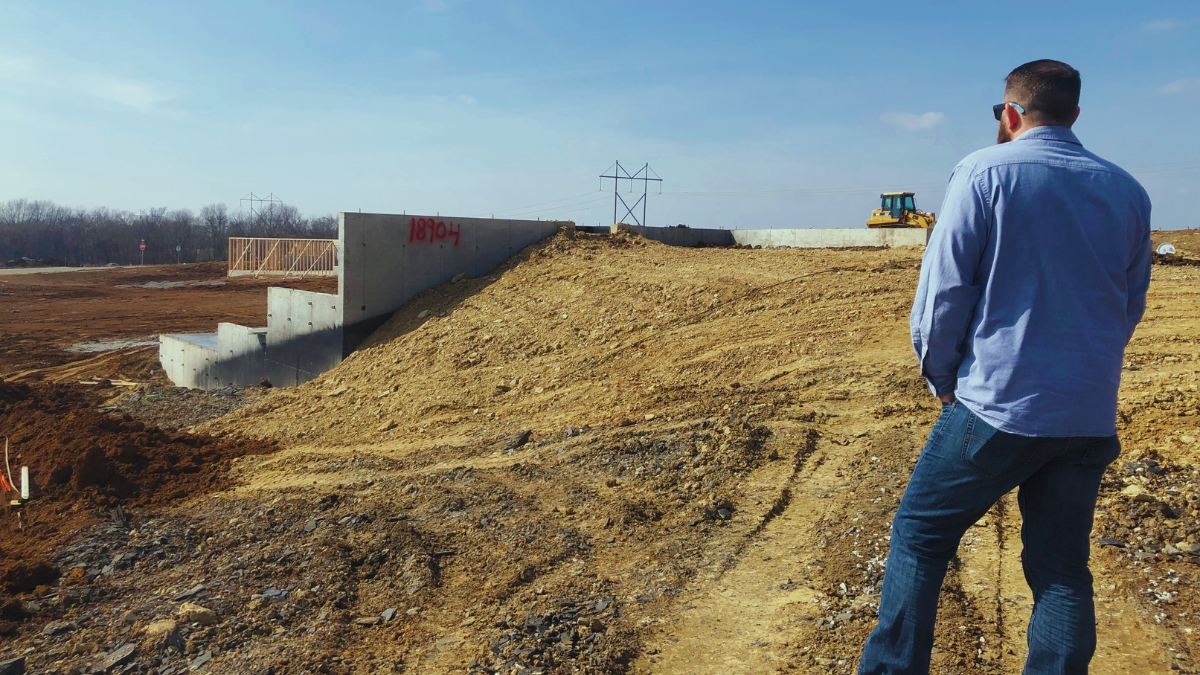
Published by Comerio Homes Choosing the right homesite is one of the most important decisions…
Framing Walkthrough of the Varese Plan: A Behind-the-Walls Tour with Comerio Homes
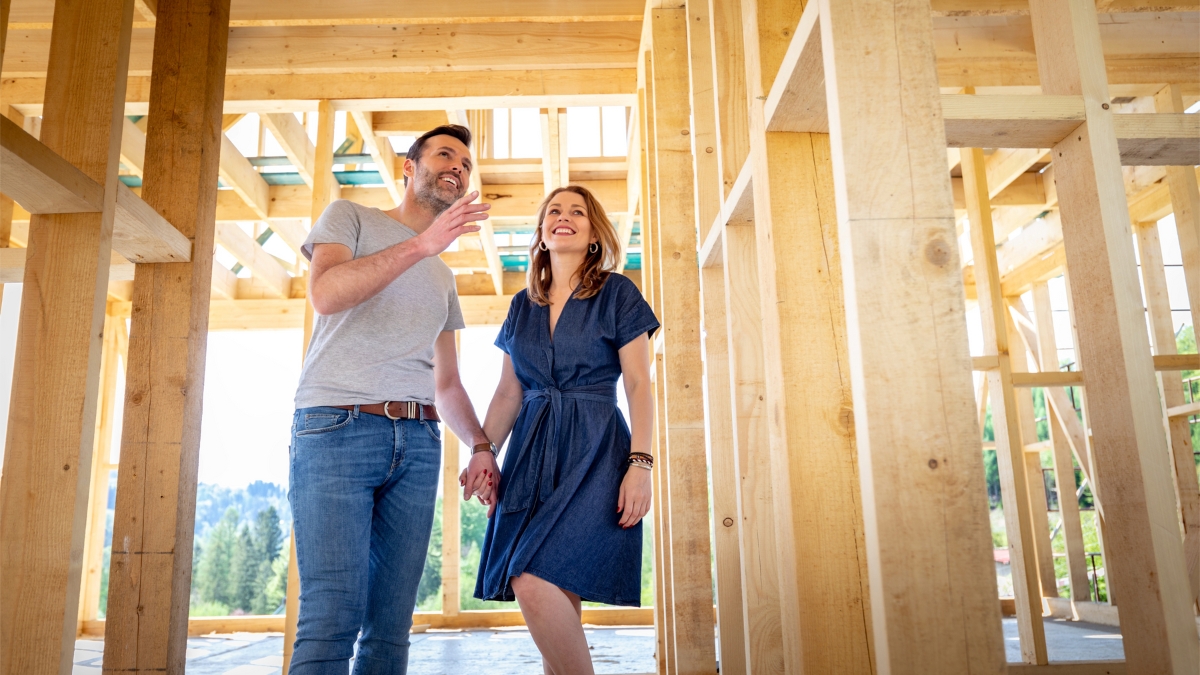
When buyers tour model homes in Kansas City, they usually fall in love with the finished details, such as the flooring, the lighting, and the decor. But the real quality of a home lives behind the walls, long before the staging and finishes are added. That’s why Comerio Homes invites buyers into the framing stage of our builds, including one of our most popular layouts, the Varese plan.
If you’ve been searching, reviewing, or comparing new construction model homes in KC, this walkthrough gives you something no furnished model can, complete transparency into how your home is engineered, assembled, and protected for years to come.
This is more than a tour. It’s your chance to see the craftsmanship that sets Comerio Homes apart.
What Is a Framing Walkthrough?
A framing walkthrough happens after the home is structurally framed, the mechanical systems are installed, and before drywall is placed. For buyers comparing model homes in Kansas City, this process offers something staged models never can, a true behind-the-walls look at how your home is built.
It’s your chance to:
- Confirm that the layout aligns with your final selections
- Review plumbing, HVAC, and electrical rough-ins
- See how framing supports future ceiling designs and built-ins
- Ask final questions before drywall conceals key components
As Damon explains during the walkthrough:
“It’s in the 90s here in Kansas. There’s no air movement in this house right now, but I wanted to walk you through and point out a few framing details and corrections we’ve made.”
This step provides visibility, peace of mind, and confidence, especially helpful for buyers evaluating custom model homes and wanting deeper clarity into what makes one builder stand out from another.
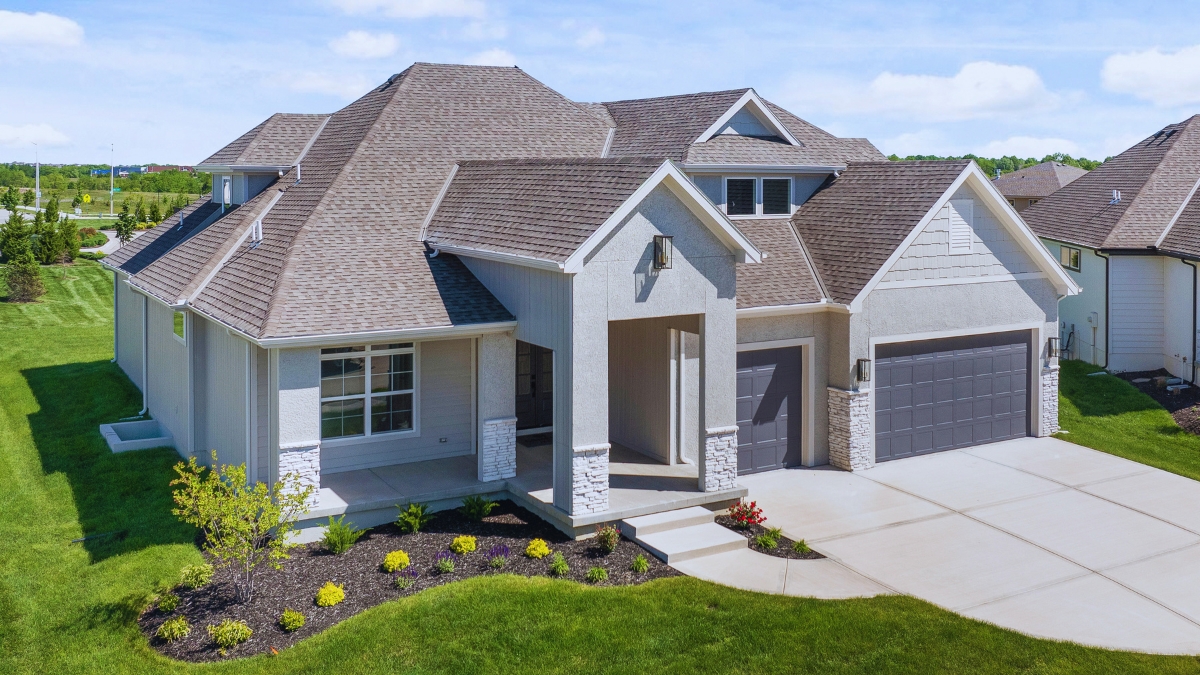
Why the Varese Plan Stands Out?
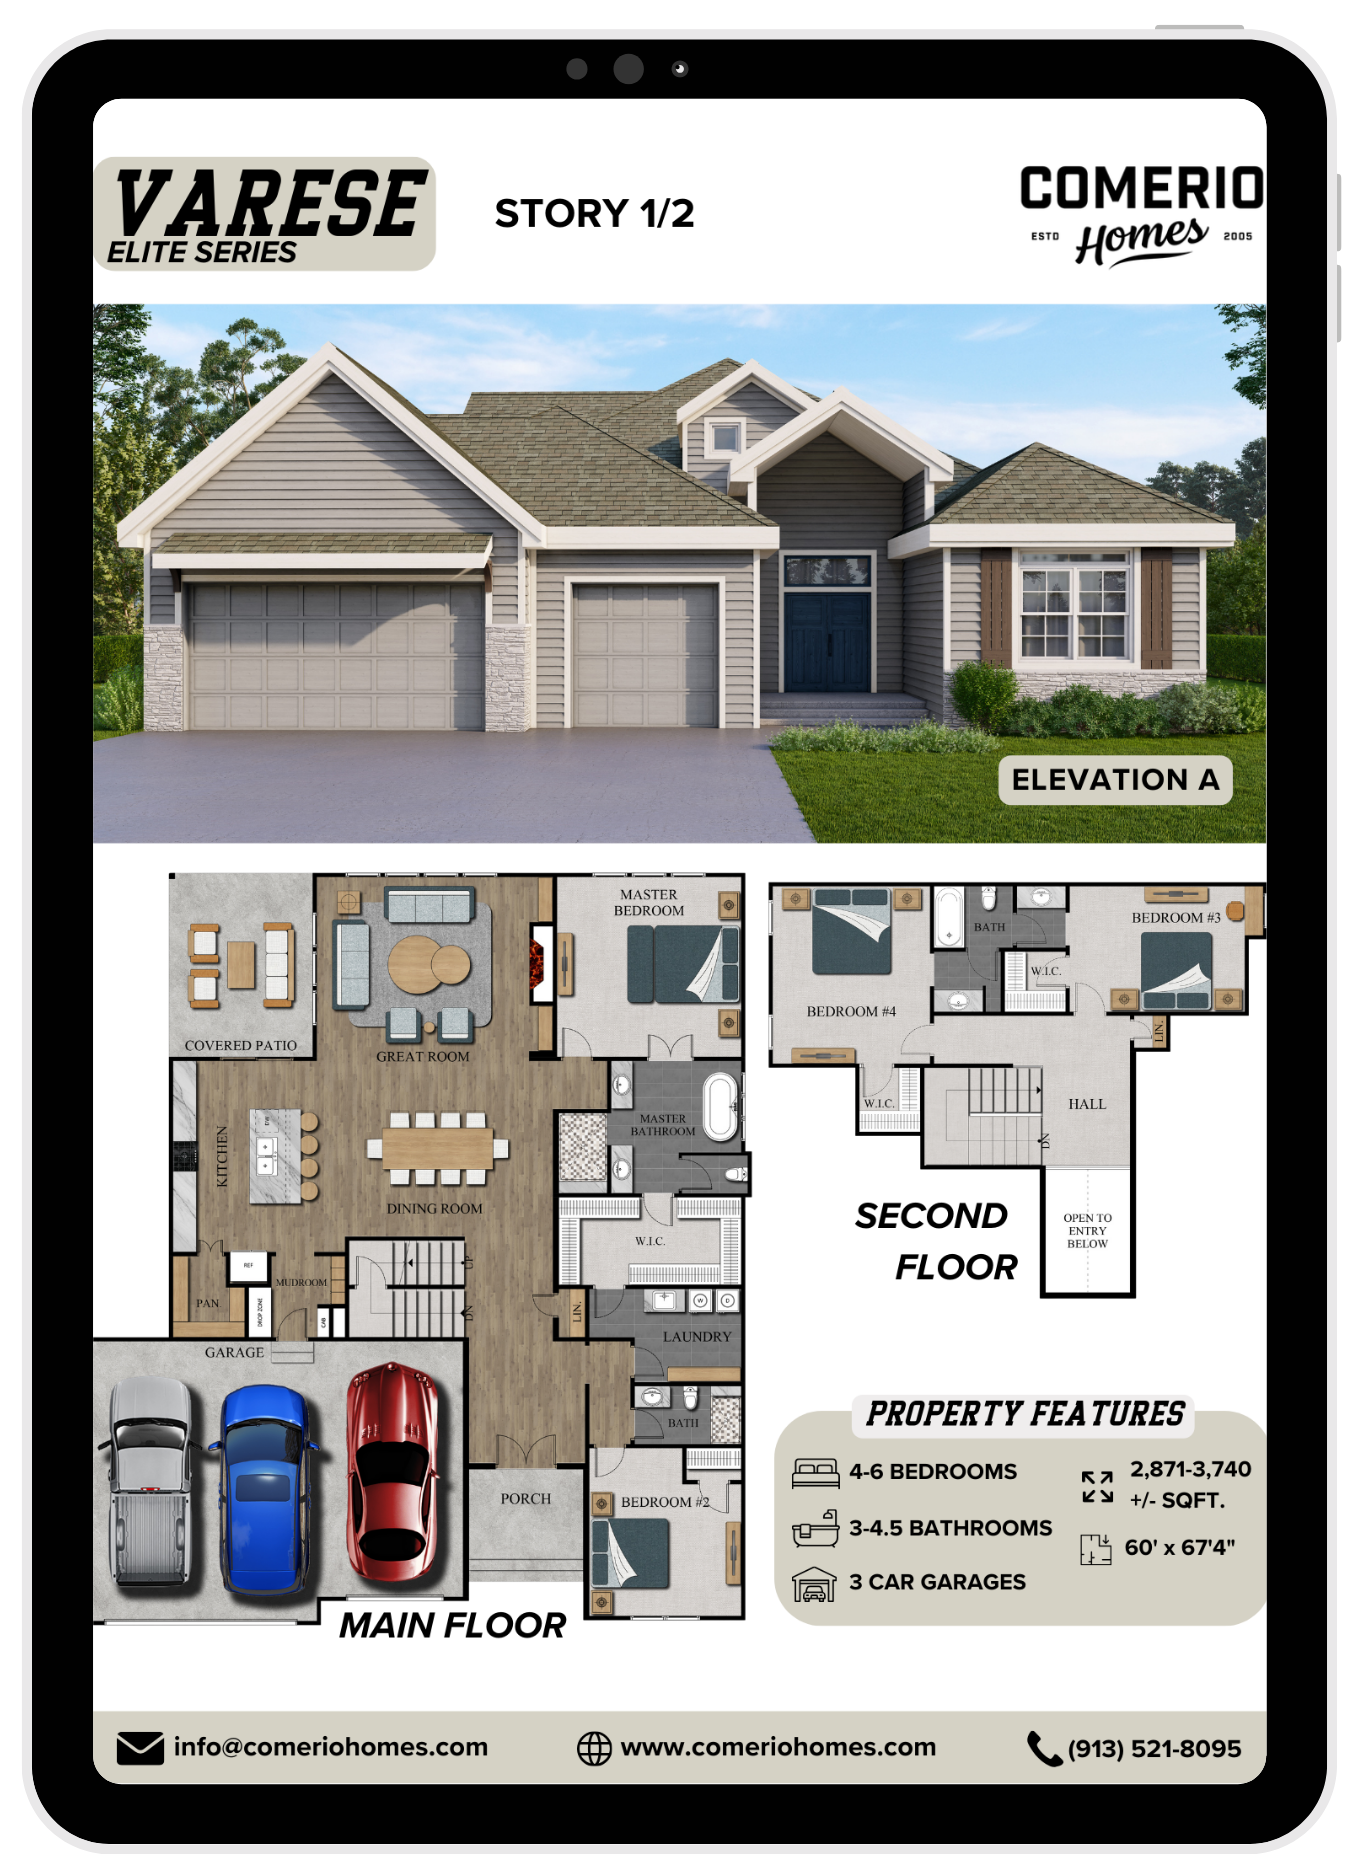 The Varese is a 1.5-story, 4-bedroom, 3-bathroom plan designed for flow, comfort, and everyday livability. With approximately 2,656 square feet of livable space, the main level includes:
- A main-level primary suite with sliding barn doors
- A main-floor guest bedroom and bath
- A vaulted great room with dramatic ceiling detail
- A spacious kitchen with a walk-in pantry with prep kitchen options
- A functional mudroom with built-ins
- Two additional upstairs bedrooms with walk-in closets
If you’ve been visiting furnished model homes in Kansas City and want something more personalized and structurally sound, the Varese offers a balance of beauty and engineering you can see from the ground up. Visit the Varese floor plan page here.
Real Walkthrough: What We Cover and Why It Matters
✔️ Engineering Corrections for Structural Load
During the walkthrough, Damon points out a critical framing fix on the second floor:
“The weight distribution from the roof wasn’t built strong enough. So we sistered two-by-sixes, basically reinforcing the ceiling joists to handle the point load.”
This real-time correction showcases the professionalism and oversight behind every Comerio build, something you won’t witness during a typical model home walkthrough in Kansas City experience.
✔️ Pocket Door Framing & Switch Placement
Pocket doors are a beautiful design feature, but they require smart planning. Damon explains:
“This floor plan has quite a few of them. The pocket door frame takes up wall space, so we can’t put switches where the door slides inside the wall.”
Damon explains how pocket door framing impacts the placement of light switches and other electrical features. This helps buyers understand why certain design elements influence electrical layout.
✔️ Vaulted Ceiling Framing
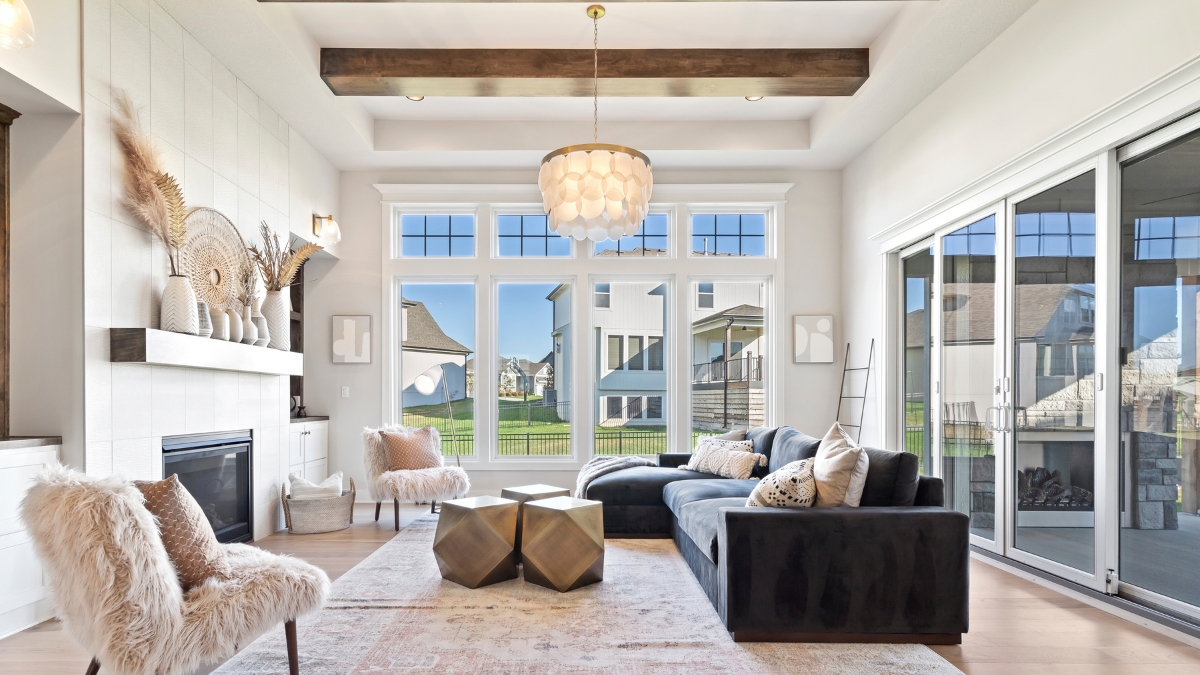 In the great room, the framing reveals the structure behind the vaulted ceiling. While the finished ceiling will showcase elegant design, at this stage, the home owner gets a clear view of how it is engineered.
“There’s a picture of the vault before we actually put those beams in it. We’ll do some nice ceiling treatments here.”
Seeing the ceiling structure in raw form gives you a preview of the craftsmanship to come!
Mechanical, Plumbing & Electrical Insights
🔧 Plumbing Rough-Ins
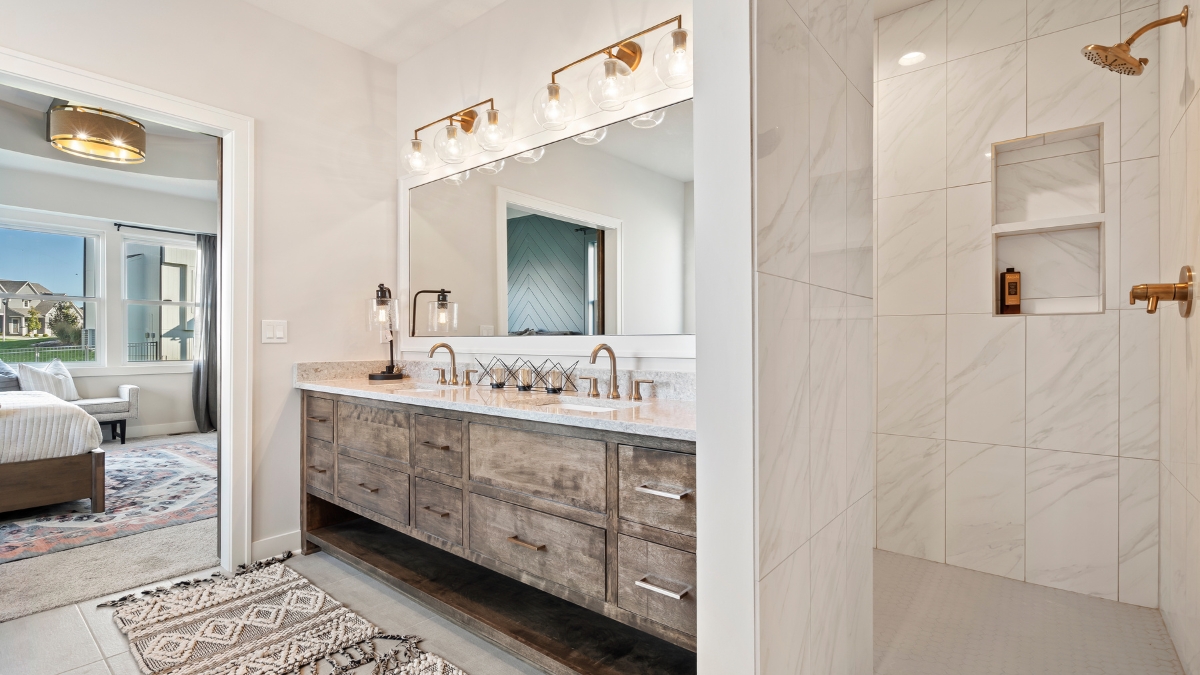 Damon pauses at the master bathroom plumbing setup to highlight what’s happening behind the walls:
“This is the dual sink in the master bath. You’ve got drains, hot and cold lines, and vent stacks that run up through the roof.”
- Red PEX = hot water
- Blue PEX = cold water
- Vertical vent pipe = sewer gas ventilation
These features are essential to clean water delivery and proper drainage, all neatly coordinated before drywall is installed.
🔌 Electrical Systems and Grounding
 You’ll also see exposed wiring and grounding systems:
“Here’s our copper line for the ground, going down to the plug, so everything is grounded properly.”
Damon walks through grounding rods, copper lines, and junction boxes. These are the systems that ensure electrical safety before drywall hides them.
🌬️ Bath Fan Vents & Fireplace Flue
Bath fans used to vent into attic spaces. Today, they vent outside the home for better air quality and moisture control. The walkthrough also highlights the fireplace flue installation.
“That foil-looking hose up there is the bath fan exhaust. It now vents to the outside of the house, per code. Back in the day, these used to vent into the attic. That created mold issues.”
These details demonstrate why building with Comerio means building smarter.
Great Room Framing Details: Coffered Ceiling & More
 Even in framing form, the Varese’s great room is impressive. You’ll see:
“Here’s our ceiling detail, a coffered ceiling framed with two 8-inch drops. Once it’s trimmed out, we’ll add wood paneling or ceiling treatments to make it pop.”
This level of transparency helps buyers compare the quality behind model homes in Kansas City.
Insulation, Inspections & Next Steps
 At the time of the walkthrough, the Varese plan was fully framed and all rough mechanical, plumbing, and electrical systems were installed. Damon explains that the team was waiting on the final city inspection and the engineer’s letter. There are two essential approvals required before drywall begins.
“Once we get the green light, we’ll start drywalling and move forward from there.”
If you’re building with Comerio Homes, you’ll experience this same walkthrough-and-approval process. It ensures every system is correctly placed, every structural detail is verified, and everything behind your walls is exactly where it should be before the next stage of construction.
This level of oversight is one of the reasons many buyers feel more confident choosing Comerio Homes over other new construction model home builders in Kansas City.
Optional Basement Finish Available
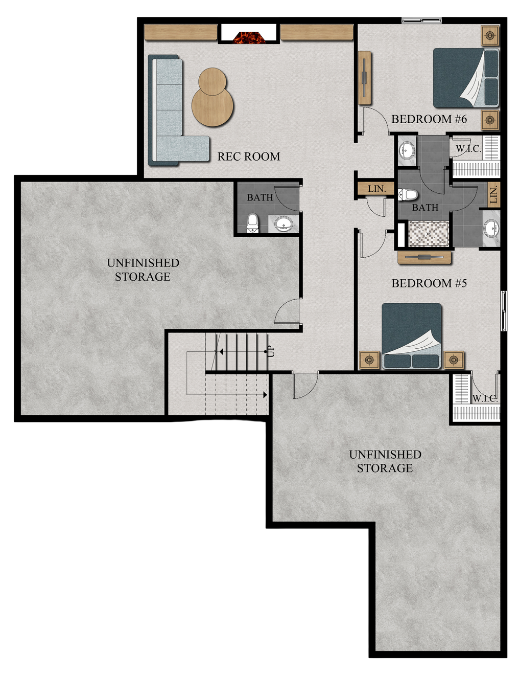 The Varese plan also gives buyers the opportunity to finish the basement, creating even more usable living space tailored to your needs. You can add:
- Up to 2 additional bedrooms
- A spacious recreation room
- An extra 1.5 bathrooms
This flexibility allows you to expand over time or design your home around your lifestyle from day one. Whether you’re planning for guests, multigenerational living, or simply want a larger entertainment area, the optional basement finish helps your home grow with you.
For more details, explore our Build Process page or connect with our team during your discovery call; we’ll walk you through every available option.
Final Thoughts: Building Smarter from the Frame Up
At Comerio Homes, we believe what’s behind the walls matters just as much as what you see in the finished areas of the best model homes in Kansas City.
This framing walkthrough of the Varese plan is a clear look at the craftsmanship and care that define every Comerio build. It highlights our commitment to:
- Quality framing and strong structural integrity
- Hands-on builder involvement with real-time corrections
- Thoughtful design decisions from the very first day
- Transparent, consistent communication throughout the process
From coffered ceiling framing to pocket door layouts, from precise PEX plumbing to properly vented bath fans, this stage gives you complete visibility into how your future home is brought to life. This is the kind of transparency you won’t get from simply touring or browsing new construction model homes online.
If you’re ready for a builder who shows you more, explains more, and delivers more, we’d love to walk through your vision together.
📐 Explore the Varese Floor Plan
📺 Watch the Full Video Tour on YouTube
📖 Additional Resources:
The Ultimate BOYL Guide

New Home Handbook
The New Home Construction Pricing Guide
Build Smart. Buy Smart. eBook

Buyer Build Job Packet
New Home Build Proposal
Construction Pricing Guide
🤝 Connect with us:
📞 Call us at (913) 270-2871
📱 FOLLOW US ON SOCIAL MEDIA:
👥 Popular Facebook Groups you should join:
Kansas City New Construction Homes

Kansas City Custom Homes

Related Posts